Author: Darstellungsart – Facebook
I am Daniel from darstellungsart and today i will give you a further explanation about how to make a convincing looking meadow with Corona Renderer. But you can easily convert these steps into your prefered render engine.
First of all it must be said that it took me some time to observe how grass and other plants work together and how the brain manages to differentiate a fake and a real meadow.
This raises the question why I’ve got time for that. Since I’ve got a dog i spend a lot of time outside. This circumstance allows me to literally observe hours and hours what nature has to offer.
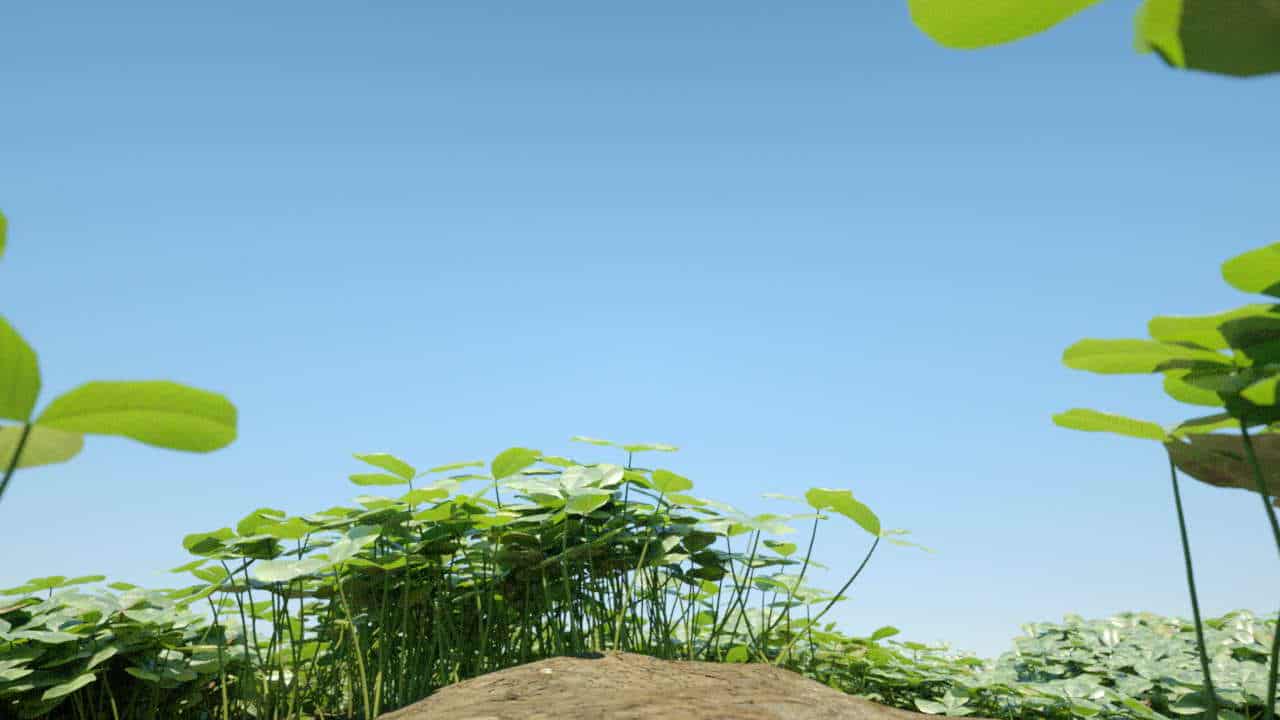
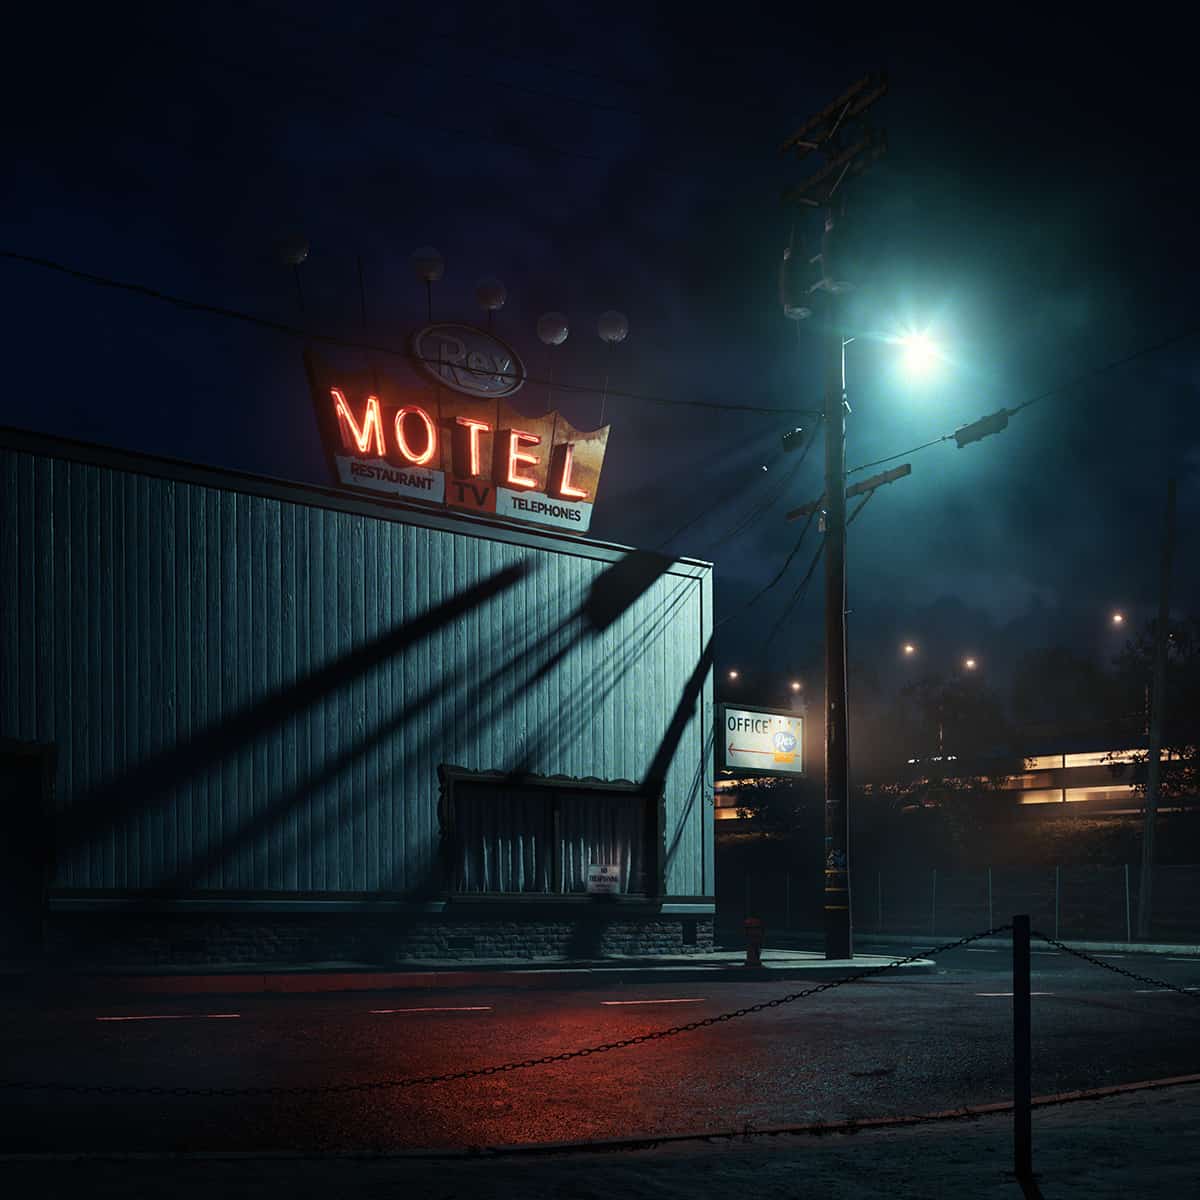
The reference design for the meadow will be the one we just posted on facebook. The workflow is made to quick-scatter large areas. You will not reach hyper realism on close-up shots with it.
If you may want to purchase the scene, you can find it here. Forest Pack is required.

This tutorial will treat the following 5 important aspects:
When standing on a meadow, our brain does not recognizes the accurate color anymore. The overall image overbalances all the fine details, gradients and color variations. Our mind simply sees a juicy green field of grass and does not bother about how it works. The chances are high that you are not able to figure out what color the grass actually has.
The chart below visualizes the problem:


So, lets assume we are turning around on a sunny day. You will see that the color of the grass will look different in each angle. When looking into sun direction you will see pure translucency color. Looking into other direction, in turn, the grass will appear as pure diffuse color.
So far, so good but whats new?
The important thing to keep an eye on, is the balance between the diffuse and the translucency shader. If you srew up this connection, you will not get that smooth transition and your brain will instantly recognize that something is wrong.
color matters
When they are, you may color correct your image in the post the way you want, they will still have the right overall transition.
Fun fact:Â If you find leaves in the same age and with the same thickness like your grass blade, they will have the same translucency color. Chlorophyll cells nearly have the same color, regardless the plant they are in.
Let’s put that knowledge into a working grass shader.

For the maps i collected real grass blades and scanned them. Thereafter i did some color corrections. Using a color checker comes in very useful here. Thats nothing you have to do, but i like to correct all my nature assets with it.
I am working with a translucency amount of 0.5, to get the color gradient right (Remember: This tutorial refers to Corona Renderer settings. Other render engines may vary). Also use a high reflection and glossiness amount. Each single grass blade reflects sun light (or other light sources) on a specific angle and thus creates the characteristic highlights on the meadow. Important: When modeling grass blades, be sure that they are curved, so they can create these reflections.
The grass patches are scattered with Forest Pack. To get color variation, we are using a forest color map.

This map is built by using a texture of a lawn surface as base map. Using this map leads to very contrasty variations. To weaken this effect i used an extra merge map, to control where and how strong the effect should be.
In the end each blade and also each grass patch will have a slightly different color.
Last but not least we also need some dry blades. The interaction between those elements is the key to photorealism.

The geometry is made with GrowFX. The models are built to work at large areas. Therefore, creating them low poly is not the worst thing you can do. The whole modeling process is still more difficult than one might think.

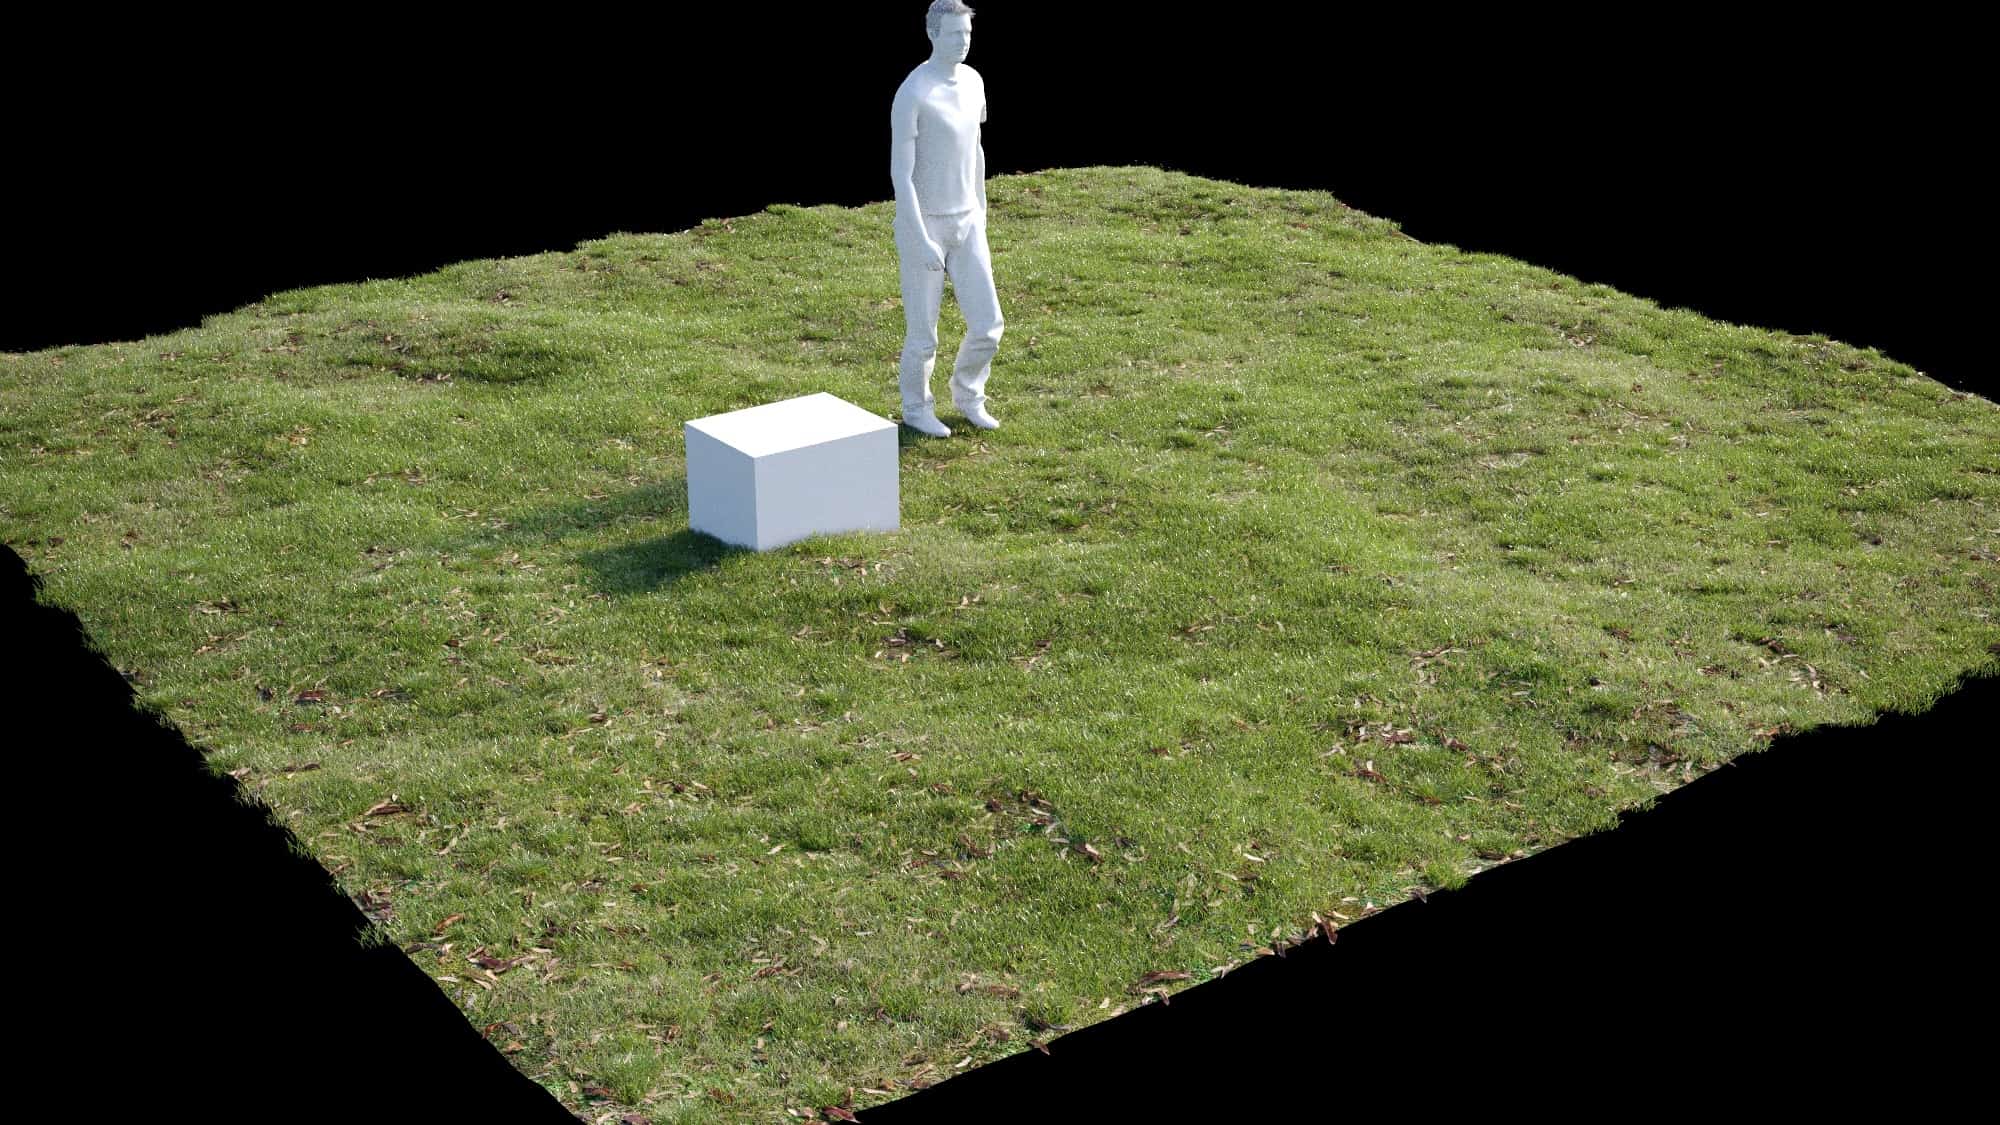
It is important to break repition patterns in your final scattering. For this purpose we need to create various patches of grass. I did 2 small, 3 midsize, 1 bunch and an additional large area.

To make the meadow more interesting you can add some leaves to the ground. Since i had some custom made leaves from a former asset project, i added them.

For more variation and a natural look i also added clover.

You can create realistic meadows with (nearly) any model you want, all you need to consider is the versatility of the patches and the scattering.
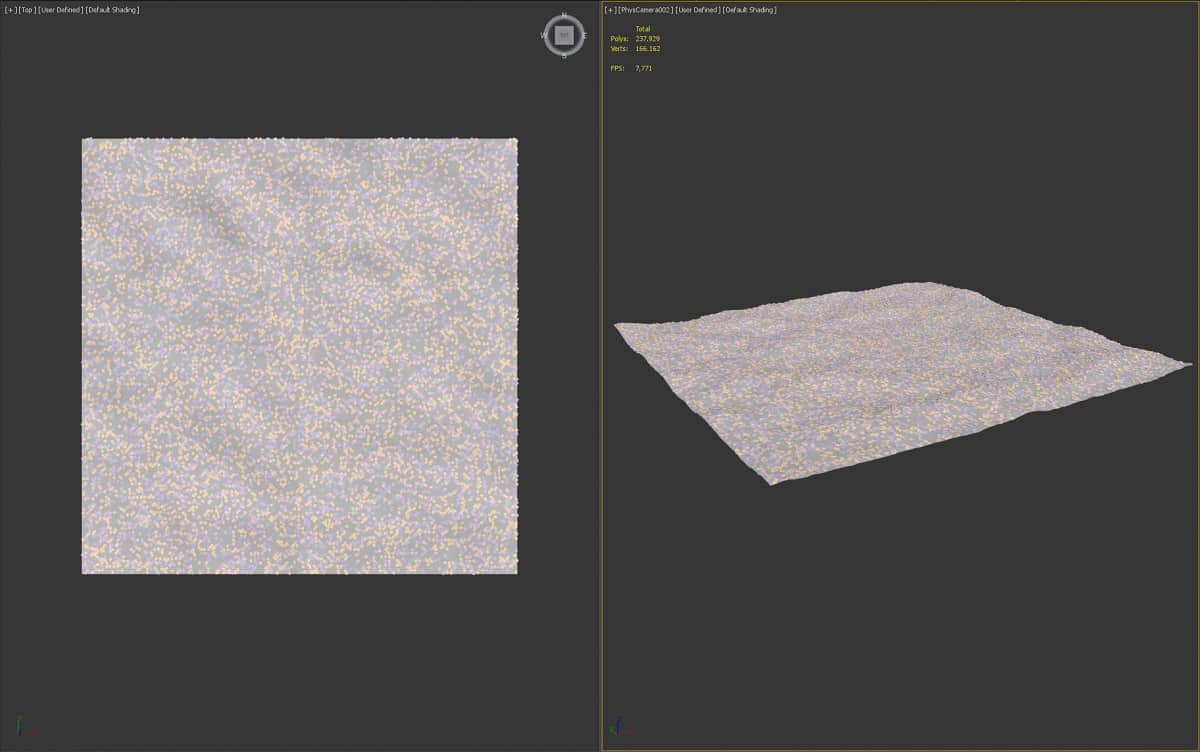
The next important aspect to have an eye on is the ground plane. Be sure you dont use a flat plane. Instead try to get some variation through displacement, sculpting or the tool you like the most.
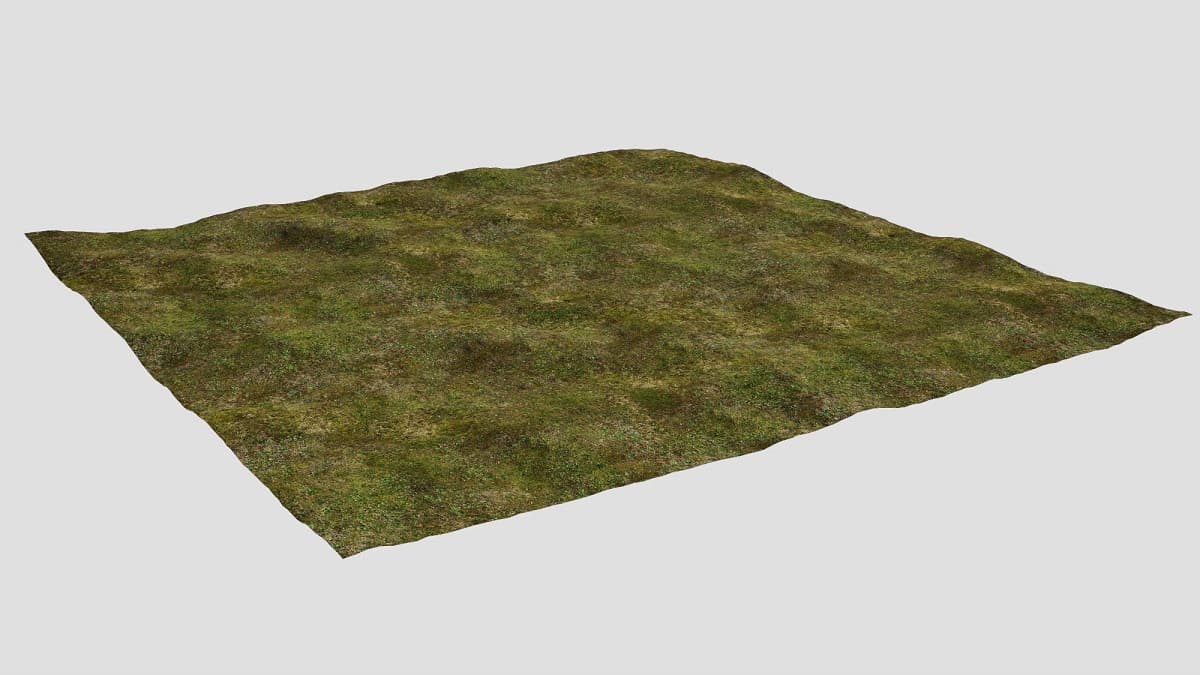
Last winter i made some ground photos. There was growing only moss and very small plants. These photos were merged together, to get a large tileable surface texture. This base texture will work perfectly to cover up the smallest plants that are also contained in a real meadow or lawn. If you simply take a soil texture, this will not work out in the same way of realism.
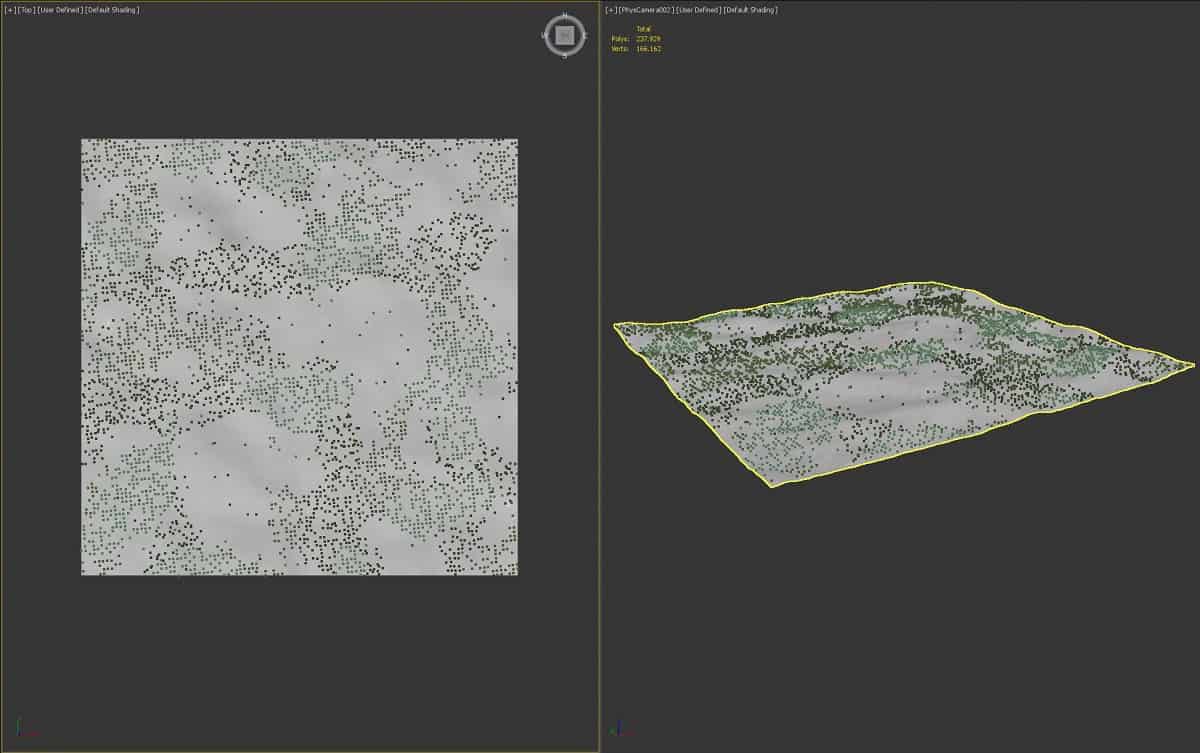
This is the part where the magic happens. Real meadows consist of many different grass species and plants wich are growing in patterns like clusters. You can simply change the whole look of the meadow by changing the scattering settings. You should have a real world reference if you do so.
This was my example
This one was my reference photo:
Common mistakes are to scatter just one grass patch or to scatter them too evenly. When using various species in one Forest Pack object, dont forget to cluster them.
If i would show you each and every forest pack object, this tutorial would easily go beyond the scope. Instead you can see how the grass and the other models are distributed in the images below. This will give you an idea how to achieve the perfect scattering.


If you may want to purchase the scene, you can find it here. Forest Pack is required.